
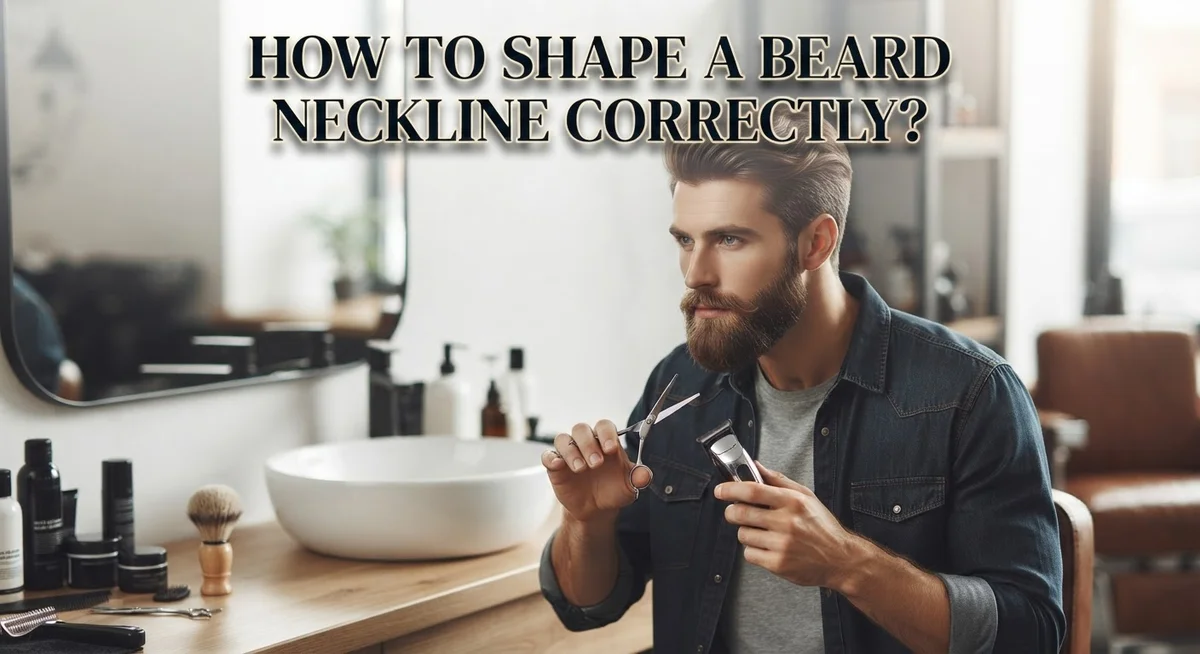
How to Shape a Beard Neckline Correctly: Step-by-Step Guide
A great beard needs a clean neckline. Without it, even the fullest beard can look messy and undefined.
Many guys struggle with this step. They either trim too high or leave the line too low, and both mistakes hurt the overall shape.
The good news? Shaping a beard neckline is simple once you know the right technique.
Your neckline sits just above your Adam’s apple. It should follow a natural curve, not a straight or sharp line. Getting this placement right makes your beard look fuller and more polished.
This article walks you through the entire process. You will learn how to find the correct spot, use the upside down U shape, and avoid the dreaded “chin strap” look.
We will also cover how often you should trim and what tools work best for precise lines.
By the end, you will know exactly how to create a neckline that looks natural and clean every time. No guesswork, no uneven edges, just a beard shape that fits your face.
Let’s get started on mastering this essential grooming skill.
In a Nutshell
Here’s a quick summary to keep in mind:
-
Find your spot first. Your neckline sits about one finger width above your Adam’s apple. This spot lines up with your double chin fold when you tilt your head back.
-
Shape matters. Trim in an upside down U shape. Round off the corners instead of leaving sharp edges. This creates a natural look that blends with your jawline.
-
Check your profile. Always look at your beard from the side, not just the front. This helps you catch mistakes before you trim.
-
Avoid common errors. Do not trim too high, or you get a “chin strap” look. Do not go too low either, since this creates a messy outline.
-
Stick to a routine. Trim every 3 to 5 days once your stubble hits 3mm or more. Regular upkeep keeps your neckline sharp and clean.
-
Finish it off. Apply aftershave once you finish trimming. This soothes your skin and reduces irritation.
What Is a Beard Neckline and Why It Matters
A beard neckline is the lower boundary of your facial hair where your beard ends and your neck begins. This line separates your beard from the bare skin below. Getting this right makes a huge difference in how your beard looks overall.
Why does this matter? A clean neckline prevents the “neckbeard” appearance that happens when hair grows too low on the neck. It also frames your face better and makes your beard look intentional rather than unkempt. The neckline directly affects how full and groomed your beard appears.
Your neckline sits just above your Adam’s apple. This is approximately one finger width above the bump on your neck. When you tilt your head back, the line should align with your double chin fold. This placement looks natural and proportional on most face shapes.
The shape matters as much as the placement. A good neckline follows an upside-down U pattern with rounded corners. This curved shape looks more natural than sharp angles. Sharp corners tend to look artificial and require constant maintenance.
Proper neckline placement also depends on your head position. Always identify your neckline while looking straight ahead in a mirror. This gives you an accurate view of where the line should go. Avoid trimming while your head is tilted, as this creates an uneven result.
Understanding your neckline’s importance helps you maintain your beard with confidence. A well-shaped neckline instantly improves your grooming game. It shows that you care about details and take pride in your appearance. This simple boundary line transforms how polished your entire beard looks.
The neckline also prevents itching and discomfort. Hair growing too low on your neck can irritate your skin or catch on your collar. A proper neckline keeps your beard in the right zone for comfort and style.
Tools You Need Before You Start Trimming
Before you trim your beard neckline, you need the right tools. Having everything ready makes the job easier and safer.
Start with a quality trimmer or clipper. Electric trimmers work well for most people. They give you control and precision. Manual razors also work, but they require a steadier hand. Choose whichever tool you feel confident using.
A straight edge razor helps you create clean lines. This tool lets you define sharp boundaries. Some people prefer safety razors for this step. They reduce the risk of cuts compared to straight razors.
Scissors designed for beard grooming are another option. These let you trim hair carefully without removing too much. Beard scissors are shorter and sharper than regular scissors. They give you better accuracy when shaping.
A mirror is essential. Use a large mirror so you can see your entire neckline clearly. A side mirror helps too. This lets you check your profile as you work.
Shaving cream or beard oil makes trimming smoother. These products help your tool glide across your skin easily. They also reduce irritation during and after trimming.
Get a towel or cape to catch loose hair. This keeps your workspace clean. It also protects your clothes from hair clippings.
A comb helps separate and style your beard before trimming. Combing pulls hair in one direction. This gives you a clearer view of where to cut.
Finally, keep aftershave balm or moisturizer nearby. Your skin needs care after trimming. Aftershave prevents irritation and keeps your skin healthy.
Gather all these tools before you start. Having everything in one place saves time and frustration. You will work faster and more confidently when you are fully prepared. This setup takes just a few minutes but makes a big difference in your results.
How to Find Your Ideal Neckline Placement
Finding your ideal neckline placement starts with understanding your natural anatomy. Your neckline should sit approximately one finger width above your Adam’s apple. This is the sweet spot that looks natural and prevents an overly trimmed appearance.
Start by standing in front of a mirror with your head held upright. Look straight ahead, not down or tilted back. This is your normal viewing angle and the position where you should identify your neckline placement. Your beard should taper naturally from your chin down to this point.
Now tilt your head back slightly and look at where your double chin fold appears. Your neckline should align with this fold. This technique helps you see the line from a side profile perspective, which is crucial for accuracy. Many people miss this step and end up with uneven placement.
Use your finger to mark the spot where you want to trim. This gives you a visual guide before you make any cuts. The line should follow an upside down U shape that curves gently around your neck. Avoid creating sharp corners or straight lines, as these look unnatural and harsh.
Your face shape also influences placement. Rounder faces often look better with necklines placed slightly higher. Longer faces can handle placement closer to the natural Adam’s apple position. Consider your specific features when deciding the exact spot.
Take your time with this step. Rushing the placement decision leads to mistakes. Once you identify the correct location, you can trim with confidence. Mark it clearly, check it from multiple angles, and only then begin trimming. This careful approach prevents the common error of cutting too high or too low.
Remember that your ideal placement might need slight adjustments as you style and maintain your beard over time.
Step-by-Step Guide to Trimming Your Beard Neckline
Start by combing your beard downward in the direction it naturally grows. This helps you see the full length and identify where your actual beard hair ends. Use your comb to separate any tangled sections so you get a clear view of what you’re working with.
Next, position yourself directly in front of your mirror with good lighting. Natural daylight works best because it shows your beard’s true color and density. Poor lighting can make you misjudge where to cut, leading to uneven results.
Hold your trimmer or clipper at a slight angle rather than straight up and down. This creates a more natural appearance instead of a harsh line. Start from one side of your neck and work slowly toward the center, then repeat on the other side.
Pay attention to your side profile as you trim. Turn your head to check both sides look balanced. Many people focus only on the front view and miss asymmetrical spots.
Use gentle, controlled motions rather than quick swipes. You can always remove more hair, but you cannot put it back. This cautious approach prevents mistakes that require waiting weeks to fix.
Round off the corners where your neckline meets your jawline. Sharp corners create an artificial look and can feel uncomfortable. Smooth, curved edges blend your beard naturally into your neck.
Trim small amounts at first, then step back to assess your progress. This gives you chances to correct your work before going too short. Keep checking the mirror frequently throughout the process.
After trimming, use your comb to brush away loose hairs and see the final result clearly. This reveals any spots you might have missed or areas needing adjustment. Take your time with this inspection before considering your neckline complete.
Getting the Shape Right: The Upside-Down U Technique
The upside down U technique is the most effective method for creating a clean, natural looking neckline. This approach works because it follows your face’s natural contours and prevents harsh, unnatural lines.
Start by understanding the basic shape you’re aiming for. The upside down U means your neckline curves gently from one side of your jaw to the other, with the lowest point sitting just above your Adam’s apple. This shape mimics how your neck naturally transitions into your jaw, which keeps your beard looking intentional rather than accidental.
Position yourself in front of your mirror with proper lighting. Tilt your head back slightly to see where your double chin fold appears. This fold is your guide. Mark the area just above your Adam’s apple with your finger. This spot becomes the center point of your U shape.
Now comes the actual trimming. Hold your trimmer at a slight angle, not straight up and down. Start from one side of your jaw and work toward the center point. Use gentle, controlled motions rather than aggressive swipes. The key is moving slowly so you maintain consistent depth throughout.
When you reach the corners where your neckline meets your jawline, round them off carefully. Sharp corners create that unnatural “chin strap” look that most people want to avoid. Rounded edges blend smoothly with your beard and look much more polished.
Step back frequently to check your progress. Trim small amounts at first. You can always remove more hair, but you cannot put it back. Use your comb to brush away loose hairs between checks so you see the true shape clearly.
This technique works because it respects your natural anatomy while creating definition. The upside down U shape flatters most face types and maintains beard fullness while keeping your neckline looking intentional and well groomed.
Common Mistakes to Avoid When Shaping Your Neckline
Many people make preventable mistakes when shaping their beard neckline. Understanding these errors helps you achieve a clean, polished look.
Trimming too high is the most common mistake. When you cut your neckline above where it should be, you create a “chin strap” effect. This makes your beard appear thinner and less full. The result looks unnatural and ages your face. Always remember the basic rule: trim just above your Adam’s apple, approximately one finger width up.
Placing your neckline too low causes the opposite problem. Your beard extends too far down your neck, creating an unkempt appearance. This also makes your neck look shorter and wider. Finding the sweet spot takes practice, but it’s worth the effort.
Using sharp corners instead of rounded edges is another frequent error. Hard angles look harsh and artificial. Your neckline should have gentle curves where it meets your jawline. This rounded approach looks intentional and groomed.
Trimming inconsistently ruins your progress. Waiting too long between trims allows stubble to grow unevenly. Your neckline loses its definition quickly. Once your stubble reaches 3mm, maintenance every 3 to 5 days keeps your shape sharp.
Ignoring your side profile during planning leads to problems. Many people focus only on their front view. Your neckline must look good from the side too. Check both angles before you start trimming.
Rushing the process causes most accidents. Take your time with small trims. Step back frequently to assess your work. You can always trim more, but you cannot put hair back.
Forgetting to use proper tools makes precision difficult. Dull clippers or trimmers create uneven results. Keep your equipment clean and sharp for the best outcome.
Maintenance Schedule and Aftercare Tips
Keeping your beard neckline sharp requires a consistent routine. Maintenance every 3 to 5 days prevents stubble from growing wild and makes trimming easier overall.
Start your maintenance schedule once your stubble reaches about 3mm in length. This timing gives you enough hair to see what you’re doing. Waiting too long between trims makes the neckline fuzzy and undefined.
Set a specific day each week for your main trim. Many people choose a weekend when they have extra time and good lighting. This creates a habit your beard responds to positively.
Between major trims, do light touch-ups to maintain your line. A quick 2-minute session keeps everything looking fresh. You won’t need your full trimming routine for these quick cleanups.
Aftercare matters just as much as the trim itself. Rinse the area with cool water to close your pores. Pat your skin dry gently with a clean towel.
Apply a soothing product to calm any irritation. Your skin just experienced trimming, so it needs care. This step prevents redness and discomfort from appearing later.
Comb your beard downward after trimming to remove loose hairs completely. This shows you the true final result without stray hairs blocking your view. You can spot any uneven areas you missed.
Check your neckline in natural daylight if possible. Bathroom lighting can deceive you about how your beard actually looks. Step outside or near a window to verify your work.
Keep your trimming tools clean between sessions. Wash them with soap and warm water after each use. Dirty tools can cause irritation and pull hairs rather than cut them cleanly.
If you notice your neckline looking uneven after a few days, don’t panic. Small adjustments are normal as your beard grows back in. Your next scheduled trim will bring everything back into balance.
Final Thoughts
Shaping your beard neckline is a skill you build over time. Your first few attempts might feel awkward, but practice makes the process easier. Each trim teaches you something new about your face shape and hair growth pattern.
Remember that patience wins over speed. A rushed trim often leads to mistakes that take weeks to grow out. Take your time and check your work from different angles before committing to a line.
Your neckline should complement your face, not compete with it. Some men need a slightly higher line, while others benefit from a lower placement. Trust your mirror and your own judgment over strict rules.
Small adjustments make a big difference. If your beard looks off, check the corners first. Rounded edges almost always look more natural than sharp angles.
Confidence comes from consistency. Once you find a neckline shape that works, stick with it. Your face will look balanced, and your beard will appear intentional rather than random.
Do not fear small errors. Beard hair grows back fast, so a slightly uneven line today can be fixed within days. Use this fact to your advantage while learning.
Every man’s beard is different. What works for your friend might not work for you. Test different neckline heights until you find the one that fits your jawline and neck shape best.
Finally, treat this as part of your grooming routine, not a chore. A clean neckline boosts your overall appearance and gives your beard a polished, finished look.
With the right technique and a bit of practice, shaping your beard neckline becomes second nature. Keep your tools sharp, your hand steady, and your confidence high every time you trim.
Frequently Asked Questions
What is the correct neckline placement for a beard?
The ideal neckline sits just above your Adam’s apple, roughly one finger width up from it. When you tilt your head back, the line should align with your double chin fold. This placement prevents an unflattering appearance while maintaining beard fullness.
To find your exact spot, stand upright facing a mirror. Look straight ahead and identify where your neck meets your jaw. This natural dividing line is your guide.
How do I know if my neckline is too high or too low?
A neckline placed too high creates a “chin strap” effect. Your beard loses volume and looks thin around the neck area. You’ll notice your beard appears shorter than it actually is.
Conversely, a neckline that’s too low extends too far down your neck. This creates an unkempt appearance and defeats the purpose of shaping. The sweet spot keeps your beard looking full while staying clean and defined.
What shape should my neckline have?
Your neckline should follow an upside down U shape. This means gently curved lines rather than sharp corners. The rounded edges look natural and blend smoothly with your skin.
Avoid creating harsh angles at the corners of your jaw. Soft, flowing curves complement your facial features and appear intentional rather than accidental.
How often should I trim my neckline?
Once your stubble reaches about 3mm in length, start maintenance every 3 to 5 days. This keeps your line sharp without requiring major reshaping. Light touch ups between sessions prevent the neckline from becoming overgrown.
Consistency matters more than frequency. Pick a schedule and stick with it for the best results.
Can I shape my neckline if I have a short beard?
Yes, absolutely. Even short beards benefit from a defined neckline. The key is waiting until your beard has enough length to work with. Once you reach 3mm of stubble, you can begin shaping.
A clean neckline makes even short beards look intentional and groomed.

David is the founder and editor of GroomingFinds.com, where he combines years of personal grooming experience with in-depth product research to help men find the best grooming tools and products for their needs. When he’s not testing the latest trimmers, razors, and skincare products, he’s busy writing honest, no-nonsense reviews and buying guides that readers can actually trust.


