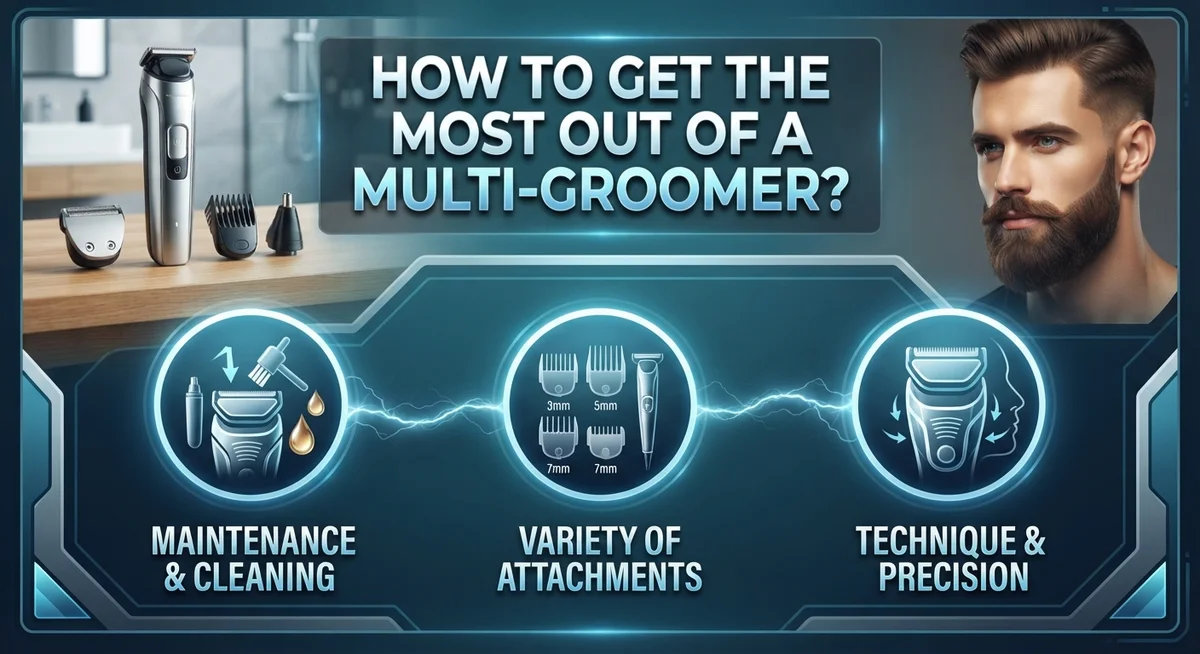
How to Get the Most Out of a Multi-Groomer?
A multi-groomer can handle many coats, breeds, and styles. But owning one is only half the job. Getting the most out of it takes skill, patience, and a smart routine.
Many groomers rush through prep work. Others skip steps or clip without a clear plan. These small mistakes can lead to uneven results and unhappy clients.
This guide breaks down the process into three core phases. You will learn about Coat Prep, Clipper Work, and Scissor Work. Each phase builds on the last one.
We will cover physical checks, washing tips, and drying methods. You will also learn how to keep a consistent grooming order. This helps you work faster and with more confidence.
Beyond technique, we will look at common mistakes groomers make. Skipping baths, rushing dries, and ignoring tool care can hurt your results. Proper maintenance keeps your equipment sharp and reliable.
By the end, you will know how to build a routine that works every time. Whether you groom one dog or many, these steps will help you get better, faster, and more consistent results.
In a Nutshell
Getting the most out of a multi-groomer comes down to a few key habits. Here is a quick summary to keep in mind.
-
Start with a physical check. Feel the body, check ears, pads, and sanitary areas before you touch a clipper. This step catches problems early.
-
Never skip prep work. Clip excess hair, then wash twice until the coat squeaks clean. This builds a strong base for the rest of the groom.
-
Dry thoroughly. Rushed drying leads to uneven clipper work later. Take the time to get the coat fully dry.
-
Follow the three phases in order. Coat Prep, Clipper Work, and Scissor Work each build on the one before. Skipping steps creates more work later.
-
Keep your sequence consistent. Move through face, feet, and hind quarters the same way every time. This builds speed and confidence with practice.
-
Maintain your tools regularly. Sharp, clean equipment makes every phase smoother. Neglected tools slow you down and hurt results.
These small habits add up to a routine you can trust, groom after groom.
What Is a Multi-Groomer and Why a Standardized Routine Matters
A multi-groomer is a device that handles multiple grooming tasks in one tool. It combines clipping, trimming, and sometimes washing functions. This single device saves time and reduces the number of tools you need to carry.
Why does a standardized routine matter? Consistency builds confidence and speed. When you follow the same steps in the same order every time, your hands know what comes next. Your muscle memory kicks in. You work faster without sacrificing quality.
A standardized routine also ensures you never skip important steps. Prep work is the foundation that makes everything else easier. When you rush through prep, clipper work suffers. When you skip drying steps, scissor work becomes uneven.
Consistency also helps with client expectations. When every dog leaves your grooming space looking polished and professional, clients trust your work. They book again. They refer their friends. Your reputation grows because your results stay reliable.
Think of a standardized routine like a recipe. You follow the same ingredients in the same order. You get the same delicious result every time. Grooming works the same way. The three phases are Coat Prep, Clipper Work, and Scissor Work. Each phase depends on the one before it.
A standardized routine also protects your tools and your body. When you work efficiently, you use less force. Your equipment lasts longer. Your hands and wrists stay healthier.
Start simple. Write down your exact sequence. Do it the same way for five dogs. Notice how your speed improves. Notice how your results become more uniform. That consistency is what separates rushed grooming from professional grooming. That is what a multi-groomer routine really means.
The Three Foundational Phases: Coat Prep, Clipper Work, and Scissor Work
The three foundational phases form the backbone of effective multi-grooming. Each phase builds on the previous one, and skipping or rushing any step creates problems later.
Coat Prep is where everything starts. This phase includes your physical check, clipping excess hair, washing, and drying. You feel the dog’s body to spot skin issues. You inspect ears, pads, and sanitary areas. You clip matted or overly long hair before water touches the coat. Then you wash twice, making sure the second wash produces that squeaky clean sound. Finally, you dry thoroughly so the coat is completely moisture free.
Clipper Work comes next. A dry, clean coat accepts clipper blades smoothly and evenly. Wet or damp hair clumps, tears, and leaves uneven lines. Your clippers glide through properly prepped coats with minimal friction. This phase is where you establish length, shape, and overall style. The quality of your prep work directly affects how clean and professional your clipper lines look.
Scissor Work is the final phase. Scissors add detail, blend transitions, and create soft edges. You use scissors on a fully clipped coat to refine the shape and add texture. Scissor work looks best when the foundation is solid and even.
Why does order matter? Each phase prepares the coat for the next. Skipping prep means your clippers work harder and produce worse results. Rushing drying means clipper lines look choppy. Poor clipper work makes scissor work harder and less polished.
Follow these three phases consistently. Write your exact sequence down. Practice it the same way every single time. This consistency turns grooming into a smooth, repeatable process that produces reliable results.
Step-by-Step: Physical Check, Clipping, and Bathing Before You Groom
A physical check happens before any clipping or bathing. This step protects the dog and prevents damage to your equipment. Feel the entire body with your hands to spot mats, tangles, or skin issues. Pay special attention to areas where mats hide most often.
Check the ears carefully. Look inside for dirt, discharge, or inflammation. Gently feel around the ear flaps and behind them. Dogs with ear problems need different handling during bathing.
Inspect the sanitary areas and paw pads next. Remove any debris or matted hair by hand. Look between the toes for foreign objects or skin problems. Clean pads allow better traction and comfort for the dog.
Examine the nails while you have the paws in your hands. Long nails affect how the dog walks and can catch on grooming equipment. Note which nails need attention during your grooming session.
Check the skin under the coat as you feel through it. Look for rashes, bumps, or unusual spots. Report any concerns to the owner before you proceed. This protects you and shows professionalism.
Once your physical check is complete, you have a clear picture of what the dog needs. You know where problem areas exist. You understand the coat condition and any health concerns.
This information guides your next steps. Clipping decisions depend on mat location and severity. Bathing water temperature and shampoo choice depend on skin condition. Drying time adjusts based on coat thickness and tangles.
A thorough physical check takes only five minutes but saves time and prevents mistakes later. Make this check your automatic first step with every dog.
Drying and Finishing: Building a Consistent Grooming Sequence
A consistent grooming sequence during drying and finishing turns chaos into confidence. When you follow the same order every time, your hands know exactly where to go next. This muscle memory saves time and reduces mistakes.
Start with the face immediately after drying. Pat the muzzle and cheeks dry with a towel first. Use your multi-groomer on low speed around the eyes and nose. Work slowly here because the skin is sensitive. Move to the ears next. Dry them completely before clipping, since moisture causes uneven cuts.
Next, tackle the feet. This is where many groomers rush and regret it. Dry between each toe pad carefully. Use your multi-groomer to shape the bottom of the paw, then move to the top. Consistency matters here. If you always start with the front left foot, your body remembers the motion.
Work toward the hind quarters after finishing all four feet. Dry the rear end thoroughly. Clip the sanitary area first if needed, then move to the legs and tail. Always save the back for last because dogs often shake when you finish there.
Keep a checklist written down during your first week. Write the exact order you follow: face, ears, front feet, back feet, rear, legs, tail. Soon you will not need it anymore.
The finishing phase is where speed and quality collide. A repeatable sequence means you work efficiently without skipping steps. Your clients notice the difference. Your body stays less tired by day’s end. Your multi-groomer performs better when you use it consistently on dry, prepped coat.
Tips for Maintaining Efficiency Across Multiple Dogs
When you groom multiple dogs back to back, efficiency depends on how well you maintain your tools and your workflow. Proper equipment care directly impacts your speed and the quality of your results.
Clean your clippers and scissors between every dog. Hair, dander, and product buildup reduce blade sharpness and slow you down. A quick wipe with a soft cloth takes seconds. This prevents rust and keeps blades gliding smoothly through coats.
Oil your clipper blades regularly. Dry blades create friction and heat. They also pull on hair instead of cutting cleanly. A few drops of clipper oil keep blades cool and efficient. Check your blade temperature by touching it to your inner wrist.
Sharpen or replace dull blades promptly. Dull blades work harder and tire your hands faster. They also create an uneven finish. You’ll spend more time correcting mistakes than you save by using worn blades.
Store your tools in a clean, dry place. Moisture causes corrosion. Extreme temperatures damage blade alignment. A dedicated grooming station keeps everything organized and accessible.
Inspect your combs and brushes daily. Remove tangled hair and debris. Replace worn brushes that snag coats or break hair.
Charge batteries overnight so you start each day with full power. Low battery performance slows your work and frustrates you midway through a groom.
Keep a maintenance log for your equipment. Note when you clean, oil, and sharpen tools. This simple habit prevents neglect and extends tool life.
Maintained tools work faster and last longer. When your equipment performs well, you move through dogs smoothly. Your hands stay fresh, your results stay consistent, and your efficiency stays high.
Tool Maintenance and Setting Clear Client Expectations
Tool maintenance keeps your multi-grooming sessions running smoothly. When your clippers and scissors work properly, you save time and reduce frustration. Dull blades pull hair instead of cutting cleanly, which stresses both you and the dog.
Clean your tools between every single dog. Hair, dirt, and dried product build up quickly and damage blade edges. A simple wipe with a clean cloth takes seconds and prevents major problems later.
Oil your clipper blades according to the manufacturer’s guidance. This reduces friction and heat, which extends blade life significantly. Dry blades create unnecessary wear and can overheat during longer grooming sessions.
Replace or sharpen blades the moment you notice they’re not cutting smoothly. Trying to push through with dull equipment wastes your energy and creates poor results. Your hands and wrists will thank you for maintaining sharp tools.
Store everything in a clean, dry location away from moisture and dust. Humidity damages metal components and promotes rust. A dedicated storage space keeps tools organized and ready for your next appointment.
Setting clear client expectations prevents misunderstandings and builds trust. Explain upfront what your grooming service includes and what it doesn’t. Tell clients how often their dog needs grooming based on coat type and lifestyle.
Discuss breed standard cuts or preferred styles during the first appointment. Take photos of the final result so clients remember what their dog looked like. This reference helps them decide if they want the same style next time.
Be honest about pricing and what factors affect the cost. Longer coats, matted fur, or behavioral challenges may require additional time and expense. Transparent communication keeps clients satisfied and reduces complaints about pricing later.
Common Mistakes That Undermine Multi-Groomer Efficiency
Rushing through prep work is one of the biggest efficiency killers. Many groomers skip or hurry this critical step because they want to move faster. This backfires immediately. Inadequate prep means matted coat sections, hidden skin issues, and unexpected problems mid groom. You end up stopping and starting, which actually wastes more time.
Inadequate washing and drying creates similar problems. If your dog isn’t clean enough, your clippers clog and dull faster. If your dog isn’t dry enough, your scissors snag and pull hair instead of cutting smoothly. Both situations force you to work harder and slower. Wash twice until the water runs clear and hair squeaks between your fingers. Dry completely before moving to clipper work.
Inconsistent grooming sequences cause you to backtrack constantly. You groom the face, then the feet, then realize you need to return to the face area. This wastes motion and mental energy. Pick one sequence and stick with it every single time. Your muscle memory builds speed automatically.
Neglecting equipment maintenance makes every dog take longer. Dull blades require more pressure and time. Dirty clippers jam and pull hair. Dead batteries force you to switch tools mid groom. These small problems compound across multiple dogs.
Underpricing services creates pressure to rush. When you charge too little, you feel forced to groom faster to make money. Speed then replaces quality. This leads to mistakes, unhappy clients, and burnout. Charge what your work is worth so you can groom at a sustainable pace.
The best groomers prioritize prep work, maintain equipment religiously, and follow consistent routines. These habits eliminate the mistakes that slow you down.
Troubleshooting: Coat, Shampoo, and Drying Challenges
Coat, shampoo, and drying challenges often slow down your multi-groomer routine. Understanding how to fix these issues keeps you moving efficiently through your dog schedule.
Coat matting happens when you skip proper prep work. Before you bathe any dog, feel the entire coat with your hands. Look for mats near the ears, armpits, and rear end. If you find mats, address them before washing. Water tightens mats and makes them harder to remove later. Clip out severe mats instead of fighting them during the bath phase.
Shampoo buildup is another common problem. Many groomers wash once and move on. Wash twice until the water runs clear and the coat squeaks between your fingers. This removes dirt, oils, and old product. A clean coat dries faster and looks better.
Drying challenges usually come from wet undercoats. After bathing, squeeze excess water from the coat gently. Never wring or twist. Use a towel to absorb moisture before you start the dryer. Dry in sections, working from head to tail. Move the dryer constantly to avoid overheating any spot. Check for damp patches under the coat by running your fingers through. Undried areas cause matting and slow down your scissor work.
Temperature matters too. Hot air dries faster but can damage the coat. Warm air takes longer but is gentler. Many experienced groomers use warm settings for most dogs.
If a dog’s coat stays damp after drying, you likely didn’t remove enough water during the towel phase. Return to that step and squeeze harder. Spend extra time here to save time later. Proper drying prevents most coat problems before they start.
Final Thoughts
Getting the most out of a multi-groomer comes down to consistency. Every dog benefits when you follow the same three phases each time. Coat prep, clipper work, and scissor work build on each other.
Skipping steps might save a few minutes now. But it costs you more time later through mistakes, matting, or an unhappy client.
Your physical check should happen before every groom. Feel the body, check ears, inspect pads and nails. This step catches problems early.
Washing twice until the coat squeaks clean makes a real difference. Dirty or soapy coats fight your clippers and scissors. Clean coats glide smoothly under your tools.
Drying thoroughly matters just as much as washing. A damp undercoat hides mats and makes cutting uneven. Take the extra time here.
Sticking to a repeatable order, like face, then feet, then hindquarters, builds muscle memory. Your hands move faster when they know what comes next. This rhythm reduces mistakes and saves energy across a full day of dogs.
Multi-grooming rewards groomers who treat each dog with the same careful process. Rushing one dog to save time often means redoing work later.
Confidence grows from repetition. The more you practice your routine, the smoother each groom becomes. Clients notice this too. They trust groomers who work with calm, steady hands.
Think of your routine as a system, not a checklist. Every phase supports the next one. When you respect that order, your results improve and your days get easier.
Master the basics first. Speed and skill will follow naturally with practice.
Frequently Asked Questions
What’s the best order to groom a dog from start to finish?
Start with a physical check. Feel the body, inspect ears, sanitary areas, pads, and nails. This catches problems early.
Next, clip excessive hair. Then wash twice until the coat squeaks clean. Thorough drying comes after washing. Finally, do scissor work in a consistent order: face, then feet, then hindquarters.
This repeatable sequence builds muscle memory. You work faster and catch nothing by accident.
How do I know if I’m washing and drying enough?
If the coat still feels damp after drying, you likely skipped the towel phase. Remove as much water as possible before using your dryer.
Wash twice. The first wash removes dirt. The second wash cleans the coat completely. You’ll hear a squeaking sound when the coat is truly clean.
Dry thoroughly. Wet undercoats cause matting and slow down your entire process.
Why does my grooming routine take so long on some dogs?
Inconsistent sequences waste time. You backtrack and repeat steps unnecessarily.
Inadequate prep work creates bigger problems later. Matted coats take longer to clip. Wet undercoats don’t dry properly. Dirty coats don’t cut smoothly.
Follow the same order every time. This consistency reduces mistakes and speeds up your work naturally.
How often should I maintain my grooming equipment?
Check your tools daily. Feel for smooth cutting action. If clippers aren’t cutting smoothly, clean them immediately.
Store everything in a clean, dry location away from moisture and dust. Equipment maintenance prevents breakdowns during appointments and keeps your work quality high.

David is the founder and editor of GroomingFinds.com, where he combines years of personal grooming experience with in-depth product research to help men find the best grooming tools and products for their needs. When he’s not testing the latest trimmers, razors, and skincare products, he’s busy writing honest, no-nonsense reviews and buying guides that readers can actually trust.