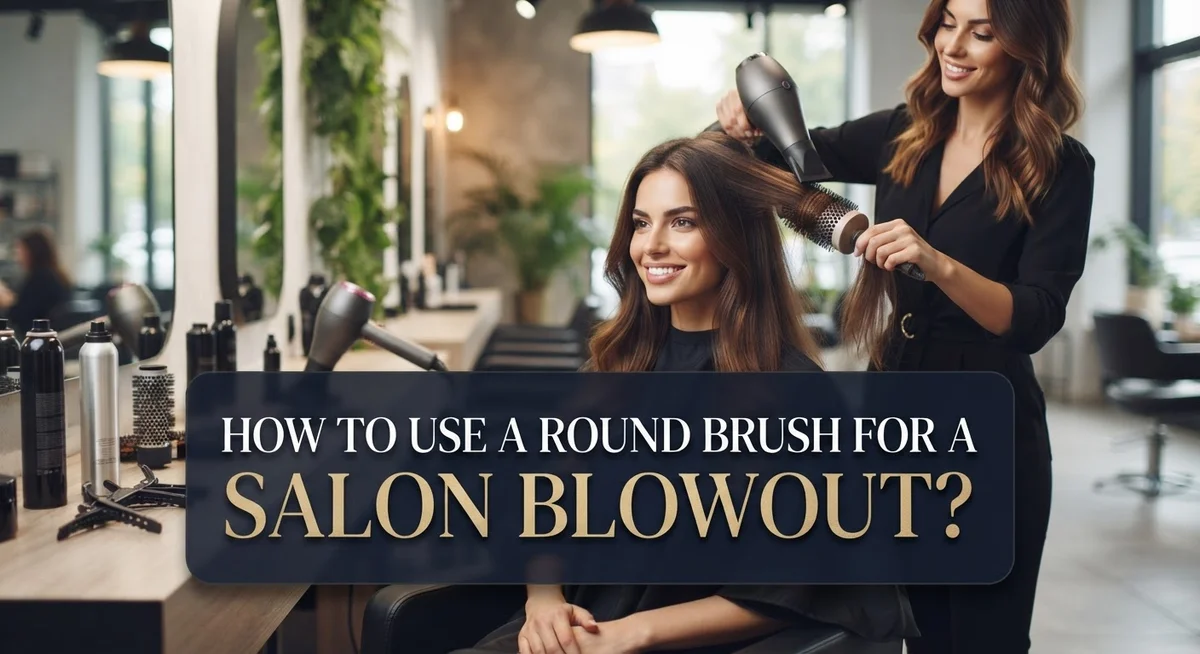
How to Use a Round Brush for a Salon Blowout?
Do you dream of that smooth, bouncy blowout you get at the salon? The good news is you can create it at home. All you need is a round brush, a blow dryer, and the right technique.
A salon blowout looks effortless. But it takes skill to get that perfect shine and movement. Many people struggle with frizz or flat roots when they try it alone.
This guide breaks down the process into simple steps. You will learn how to prep your hair the right way. We cover sectioning, brush placement, and heat direction too.
We also share the most common mistakes people make. Things like using the wrong brush size or drying hair incorrectly. Knowing these errors helps you avoid them.
By the end of this article, you will feel confident holding a round brush. You will understand how to lift your roots for volume. You will also know how to roll your ends for that classic curl.
Get ready to transform your daily routine. Your best blowout is closer than you think.
In a Nutshell
Here is a quick summary before we jump into the details.
-
Prep your hair first. Start with clean, damp hair and apply your styling product early. This protects your hair and helps the style last longer.
-
Pre-dry with a concentrator. Use the nozzle attachment to dry hair to about 70-80% before you pick up the round brush. This step saves you time and effort.
-
Pick the right brush size. Match your brush size to your section size. A small brush on large sections will not create enough tension.
-
Lift at the roots. Always lift your sections upward as you dry. This simple move adds volume that lasts all day.
-
Roll away from your face. Rotate the brush outward, not inward, for that classic bouncy finish. This creates smooth, salon style curves.
-
Avoid double wrapping. Never wrap hair around the brush more than once. This common mistake causes tangles and uneven results.
What You Need Before You Start
Before you start your blowout, gather everything you need in one place. This saves time and keeps you focused on technique rather than searching for items mid-dry.
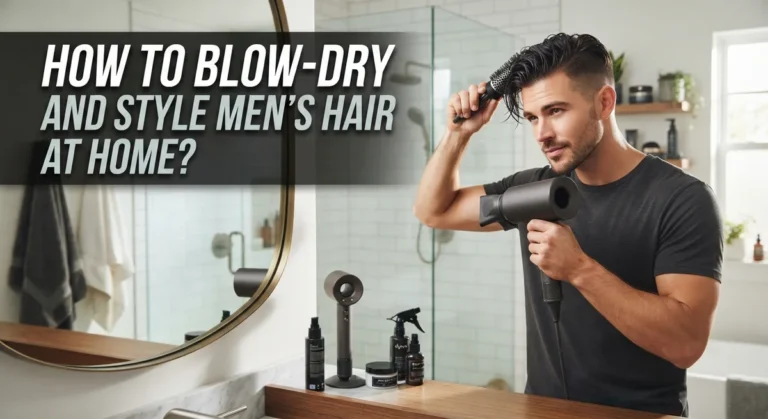
You will need a blow dryer with a concentrator nozzle attachment. The concentrator nozzle is essential because it focuses heat and air into a narrow stream. This reduces frizz and gives you better control over each section.
Pick a round brush that matches your hair type and desired result. Smaller brushes create tighter curls and more volume. Larger brushes work better for longer hair and looser waves. Have at least one brush ready before you begin.
Styling products matter for your final result. You will want a heat protectant spray to shield your hair from damage. A volumizing mousse or lightweight styling cream helps your blowout last longer. Apply these products to damp hair before you start drying.
A spray bottle filled with water keeps sections damp as you work. You cannot use a round brush on completely dry hair. Misting each section helps you maintain control and achieve smooth results.
Keep hair clips or sectioning clips nearby. These hold parts of your hair out of the way while you focus on one section at a time. This prevents you from working on tangled or mixed sections.
A paddle brush or wide tooth comb helps you detangle wet hair before you begin. Start from the ends and work upward to avoid breakage.
Good lighting matters too. Position yourself near a mirror with bright light so you can see what you are doing. This helps you apply heat evenly and catch any missed spots.
Finally, wear an old shirt or apron. Water and product drips happen during blowouts. Protecting your clothes makes the experience more enjoyable and less stressful.
Prepping Hair for a Salon-Worthy Blowout
Before you grab your round brush, your hair needs proper preparation. This step makes the difference between a professional result and a frustrating experience.
Start by washing your hair with shampoo and conditioner. Clean hair holds styles better and responds well to heat. Towel dry gently until your hair feels damp, not soaking wet.
Apply your styling product while hair is still wet. This could be a heat protectant spray, mousse, or smoothing cream. The product coats each strand and shields it from heat damage. Work the product through from roots to ends using your fingers or a comb.
Now comes the pre-drying phase. Use your blow dryer with the concentrator nozzle on medium heat. Dry your hair to about 70 to 80 percent moisture. Your hair should still feel slightly damp to the touch. This stage removes excess water without over-drying your strands.
Why stop at 70 percent? Hair that is completely dry becomes difficult to shape with a round brush. Partially dried hair holds the brush’s curl much better and creates that bouncy salon finish.
Detangle your hair during this pre-dry phase. Use a paddle brush or wide tooth comb to work through any knots gently. Detangling wet hair prevents breakage and makes sectioning easier later.
Check your hair texture as you pre-dry. If you have thick or curly hair, you may need slightly more drying time. Fine or thin hair dries faster, so watch it carefully.
Position yourself in front of a mirror with good lighting. You need to see your progress and catch any missed sections. Keep your spray bottle nearby to re-dampen sections if they dry too quickly while you work.
Your hair is now ready for the round brush. Proper prep ensures smooth results and reduces frizz throughout your entire blowout.
Choosing the Right Round Brush Size for Your Hair
The size of your round brush directly affects your blowout results. A brush that’s too small won’t create enough volume. A brush that’s too large becomes hard to control and won’t grip your hair properly.
Match your brush size to your hair length and thickness. Fine or short hair works best with smaller brushes, typically 1.5 to 2 inches in diameter. Medium length hair does well with 2 to 2.5 inch brushes. Thick or long hair needs larger brushes, around 2.5 to 3 inches or more.
Consider what you want to achieve with your blowout. If you want tight curls and maximum volume, choose a smaller brush. If you prefer loose waves and a smoother finish, go with a larger size.
Your section size matters too. The brush should be small enough to fit under each hair section you’re drying. When you place the brush under a section, it should grip the hair without the section being too wide. This grip helps you roll the hair smoothly and create that polished salon look.
Test the brush in your hand before you start. It should feel balanced and comfortable to hold for several minutes. Your wrist shouldn’t feel strained as you rotate the brush through your hair.
Think about your hair texture as well. Curly or textured hair often needs a smaller brush to create defined curls and control frizz. Straight hair can handle larger brushes for a sleek, voluminous finish.
Many people find that owning two sizes works best. Keep a smaller brush for detail work around your face and crown. Use a larger brush for the back sections where you need more volume. This approach gives you flexibility and helps you achieve professional results every time you blow dry.
Step-by-Step: How to Use a Round Brush for a Salon Blowout
Start by sectioning your hair into manageable parts. Divide your hair into four to six sections using clips. This prevents you from working on the same area twice and keeps your blowout consistent.
Begin with the section closest to your face. Unclip one section and hold it up with your non dominant hand. Keep the rest clipped away so they stay damp while you work.
Place your round brush underneath the hair section at the roots. This lifting motion at the roots creates volume and body. Direct your blow dryer heat downward along the brush barrel while you slowly pull the brush through.
Roll the section away from your face as you pull the brush down. This rolling motion creates the signature salon wave and shine. Keep tension on the hair as you move the brush from roots to ends.
Move to the next section and repeat the same process. Work systematically around your head. Stay on one side completely before moving to the other side.
Pay attention to the back of your head. These sections often need extra attention since you cannot see them as easily. Use your mirror to check your progress from different angles.
Keep your spray bottle nearby. If a section starts to dry out too much, mist it lightly with water. Damp hair holds a style better than completely dry hair.
As you finish each section, let it cool before you move on. The cooling phase sets your style and locks in the shape. You can use your blow dryer on cool setting for the final pass through each section.
Work at a steady pace. Rushing causes you to miss sections or create uneven results. Take your time and focus on one section at a time for best results.
Pro Tips for Volume, Shine, and Frizz-Free Results
A round brush creates volume, shine, and smooth texture when you use the right technique. The key is understanding how heat, tension, and direction work together to transform your hair.
Use a concentration nozzle on your blow dryer. This attachment focuses airflow directly onto your hair sections. It reduces frizz, increases shine, and gives you better control than using the dryer without one. Always attach it before you start drying.
Lift at the roots for maximum volume. Place your brush underneath each section at the scalp. Pull upward and away from your head as you move the brush down. This lifting motion creates body that lasts all day. Never brush downward in a flat direction.
Roll sections away from your face. As you reach the ends of each section, gently roll the brush outward. This creates soft waves and a polished look. Hold the brush in place for a few seconds to set the shape.
Keep heat on medium setting. High heat can damage hair and cause frizz. Medium heat dries hair effectively while protecting it. Move your dryer constantly so you do not overheat one spot.
Cool each section before moving on. After you finish a section, let it cool completely. Cooling sets the style and adds shine. You can use the cool shot button on your dryer to speed this up.
Work in small, manageable sections. Smaller sections dry faster and hold shape better. Larger sections often result in flat, limp hair. Take your time and work systematically from bottom to top.
Maintain consistent tension throughout. Hold the brush steady as you pull it through. Loose tension creates messy results. Tight tension can cause breakage. Find a balanced grip that feels comfortable.
These techniques work together to create salon quality results at home.
Common Mistakes to Avoid When Round Brushing
Using a round brush incorrectly can undo all your hard work and damage your hair. Here are the main mistakes to avoid for a perfect salon blowout.
Using a brush that’s too small for your section size is one of the biggest errors. When your brush doesn’t match your hair section, you can’t dry efficiently. Your hair won’t wrap properly around the brush, and you’ll end up with uneven results. Always pick a brush size that fits comfortably under each section you’re drying.
Wrapping hair around the brush more than once creates problems. Twisting your hair multiple times around the barrel makes it harder to release smoothly. It also causes tension on your scalp and can lead to breakage. Wrap your hair just once around the brush for clean, controlled results.
Drying straight down instead of directing heat properly prevents you from building volume. Your blow dryer’s airflow should follow the direction you’re rolling the brush. Point the concentrator nozzle downward along each section. This technique smooths your hair cuticles and reduces frizz.
Over drying your hair before using the round brush makes styling much harder. If you dry your hair completely before round brushing, it becomes brittle and difficult to shape. Stop your pre drying phase when your hair is still about 20 to 30 percent damp. This moisture level lets you work with the round brush while still having control.
Skipping the concentrator nozzle attachment wastes your effort. Without this nozzle, heat spreads everywhere and creates frizz. The concentrator focuses airflow directly onto your hair sections for smooth, shiny results.
Working too quickly through sections leads to uneven drying. Take your time with each section. Let your blow dryer fully dry the hair wrapped around the brush before moving forward.
Troubleshooting: Fixing an Uneven or Flat Blowout
When your blowout looks uneven or flat, the problem usually comes from how you applied heat or positioned your brush. Let’s fix this.
Uneven drying happens when you rush through sections. If some areas look smooth while others stay frizzy or limp, you didn’t spend enough time on those spots. Go back and re-dry the flat sections. Place your brush underneath the hair at the roots and hold it there longer. Let the heat penetrate fully before moving forward.
Check your brush placement too. If you’re placing the brush on top of sections instead of underneath, you won’t lift the hair properly. The brush must go under each section at the scalp. This lifting action creates volume and prevents flatness.
Flat hair at the crown usually means you skipped the root lift step. Your roots need direct heat and upward tension. Position your brush underneath, roll it away from your scalp, and keep the dryer heat focused there for several seconds. This builds the foundation for your entire blowout.
Uneven texture often results from inconsistent heat direction. Your blow dryer’s heat must follow the same path as your brush. If you’re directing heat randomly or from the wrong angle, some sections dry faster than others. Keep your concentrator nozzle attached and aim it down the hair shaft, following your brush movement.
One more common cause: you’re not letting sections cool completely. Hair sets its shape as it cools. If you move to the next section too quickly, the previous one loses its form and falls flat. After finishing each section, wait a few seconds before touching it.
If your entire blowout looks flat, you might be using medium heat when you need slightly higher heat. Medium heat works well, but some hair types need a touch more warmth to hold style. Test this on your next attempt and adjust based on your results.
Final Thoughts
A salon blowout at home is easy once you understand the basics. Practice makes your technique smoother every time you try it.
Start with clean, damp hair and always use a concentrator nozzle. This simple step makes a huge difference in your final results.
Remember to work in small sections. Small sections give you more control and help you avoid missing spots.
Patience is key during this process. Rushing through your hair often leads to flat or frizzy sections that ruin the overall look.
Take time to lift each section at the roots. This creates the volume that makes a blowout look truly salon quality.
Rolling your brush away from your face shapes your ends beautifully. This motion gives your hair that classic bounce you see in salons.
Cooling each section before you move on locks in your style. Skipping this step often causes hair to lose its shape quickly.
Your dryer settings matter just as much as your brush technique. Medium heat protects your hair while still giving you a smooth finish.
Choosing the right brush size for your hair length helps you avoid common mistakes. A brush that matches your section size makes styling much easier.
Over time, your hands will learn the right pressure and angle. Muscle memory makes each blowout faster and more consistent.
Don’t get discouraged if your first few attempts don’t look perfect. Every stylist started as a beginner who practiced these same steps.
Your bathroom mirror can become your own salon chair with enough repetition. Confidence grows each time you pick up that round brush.
Soon, you will create smooth, shiny, and voluminous blowouts without any outside help. Your hair will thank you for the healthy technique you now know.
Enjoy your beautiful new skill and the time and money it saves you.
Frequently Asked Questions
Should I brush my hair before or after applying product?
Brush your hair while it’s still wet, before you add any styling products. Wet hair is easier to detangle and won’t break as easily. Once you’ve removed tangles, then apply your heat protectant or styling product to damp hair. This order prevents product buildup on your brush and helps the product distribute evenly.
What heat setting should I use on my blow dryer?
Use medium heat for most hair types. Medium heat dries your hair fast enough without causing damage. If your hair is fine or damaged, stick with low heat and take more time. High heat works only for thick, coarse hair, and even then, use it carefully.
Always pair your heat setting with a concentrator nozzle. The nozzle directs hot air onto your brush and hair, not all around the room. This focus reduces frizz and speeds up drying.
How do I know when my hair is ready for the round brush?
Your hair should be roughly 70 to 80 percent dry before you start using the round brush. This means your hair still feels damp but not dripping wet. At this stage, your hair holds shape better and won’t slip off the brush.
If you start with soaking wet hair, the brush becomes harder to control. If you wait until your hair is completely dry, the round brush can’t create the smooth, shiny finish you want.
Can I use a round brush on all hair types?
Yes, round brushes work on straight, wavy, curly, and coily hair. The key is choosing the right brush size for your hair texture. Thicker hair needs a larger diameter brush. Finer hair works better with smaller brushes.
Curly and coily hair may need extra care. Use a lighter hand and avoid wrapping hair too tightly around the brush.

David is the founder and editor of GroomingFinds.com, where he combines years of personal grooming experience with in-depth product research to help men find the best grooming tools and products for their needs. When he’s not testing the latest trimmers, razors, and skincare products, he’s busy writing honest, no-nonsense reviews and buying guides that readers can actually trust.